Party planning can be very daunting and stressful. Me, as a professional events planner since 25 years, I always stick to my plan and my checklist. If I don’t write everything down than for sure I will forget a crucial step. When I entertain at home I want to ENJOY myself and make sure my guests do too.
Let me share with you MY 10 STEPS for stress-free entertaining at home. You can click in the sidebar to download it.
Happy party planning!
STEP 1: What TYPE OF PARTY do you wish to host? I generally start with the time of the day I wish to host to inspire me. If I want to host something outside and enjoy a sunny day than Brunch or lunch is what I plan. A group of girls, an afternoon tea party is appropriate. If I want a casual get together than maybe early evening drinks. A full-on 8 course gastro dinner, sure, I can seat up to 8 people at my dining table. – NOTE: my 1st step is NOT the budget cause for any budget you can host any type of event. I feel the type of event sets the tone and makes it the place to start.
STEP 2: Who do you want to INVITE? How large or intimate a group are you thinking? How will you send invites? A quick whatsapp, messenger or a Facebook invite? And how do manage tracking RSVP ? Today plenty of fun apps exist to help you keep track of all that such as: evite.com, greenenvelop.com and paperlesspost.com ( and plenty more). I generally use an app when my guest list exceeds 20 people below a quick whats app for good friends and an email for business connections.
STEP 3: BUDGET, let’s get real, no need to break the bank so it’s best to be honest up front and set your maximum budgets for food, wine and decorations. Now don’t underestimate the decorations. Spending a bit of cash and time ( not everybody needs to do arts & craft all night!) will make a huge difference!
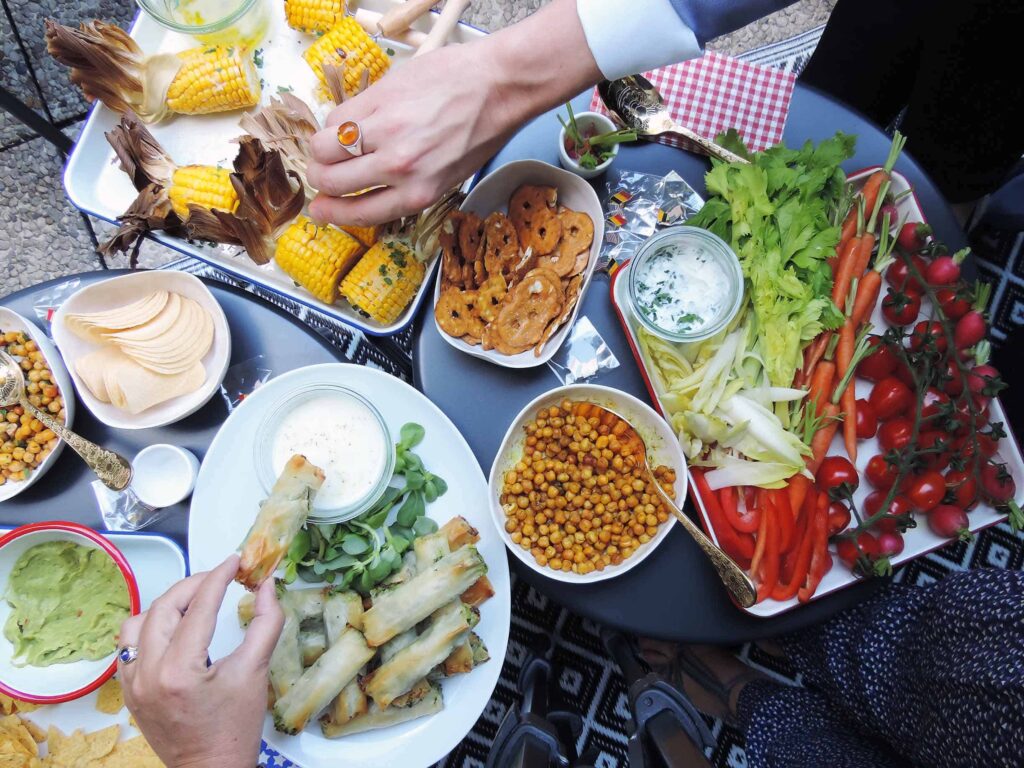
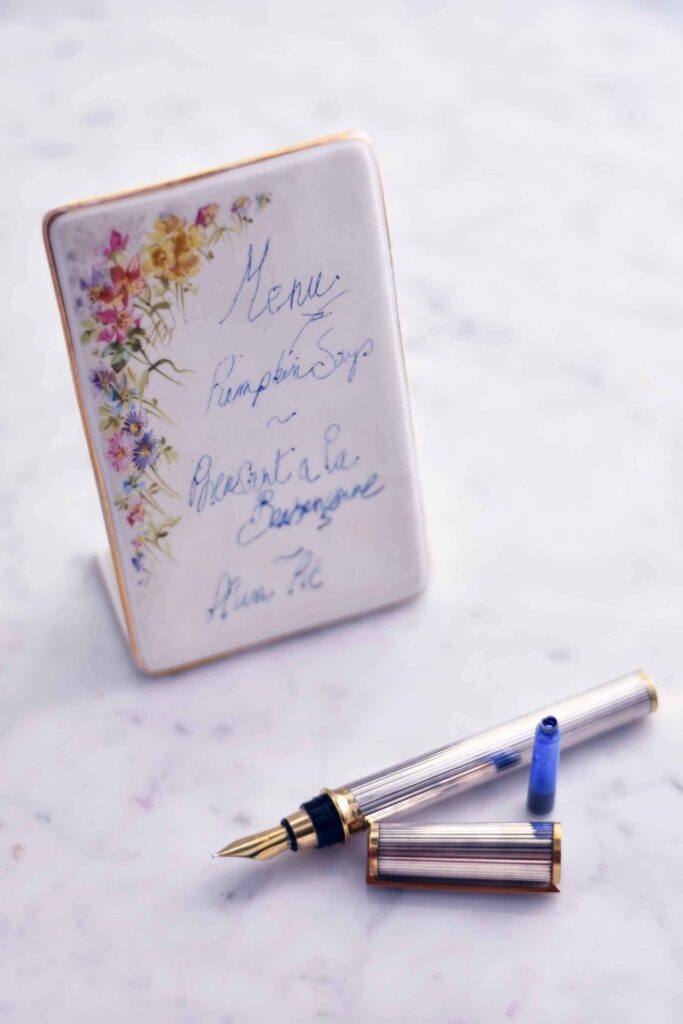
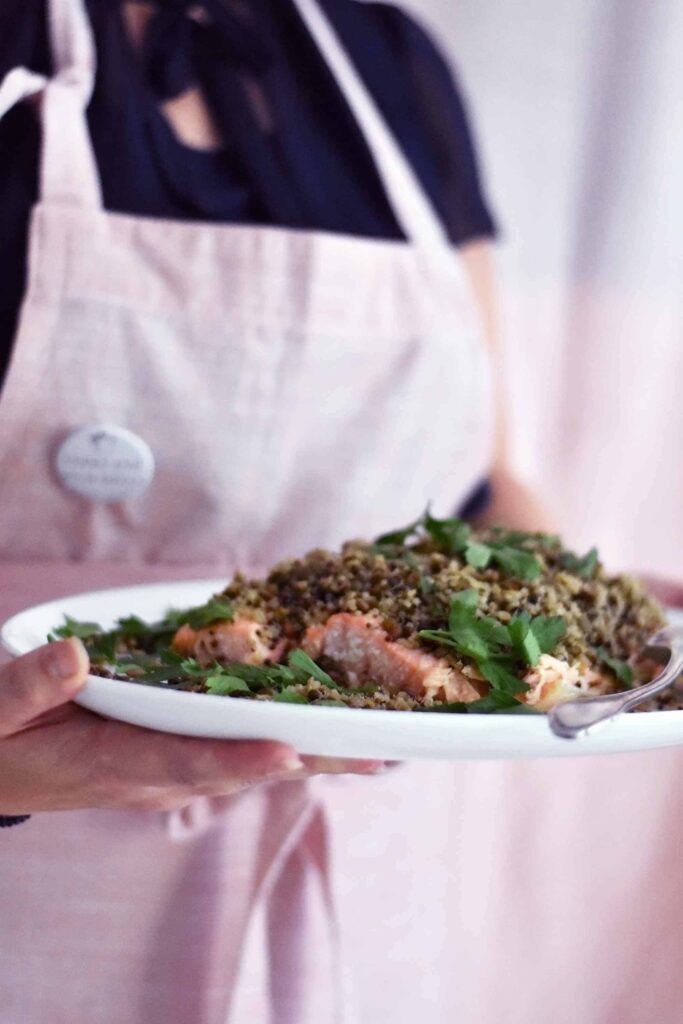
STEP 4: what will you cook and serve? MENU planning is crucial; not only creating a balanced selection but also keeping within the budget. I start with seasonal ingredients as they will be the cheapest and the best tasting. I research in cookbooks, food blogs, recipe sites and magazines for weeks to come up with the BEST possible menu … in my budget. I start with the main course which I always make the most luxe and expensive ( it’s called the MAIN course after all), once I priced that out than I know how much money I got left for the rest of the courses.


STEP 5: what DRINKS will you serve? Are you hiring a mixologist to mix up some fab cocktails for your guests? Once you have your menu you can ask for advice at your local wine shop, I always rely on does who know. Don’t be afraid to state your budget up front and make sure she/he understands your menu. Order and have delivered the day before if possible. How much you need is up to your guests really. There are plenty online calculation tools to help you. Most of my dearest friends are like me, lushes, so I count a bottle per person per 1.5 hrs of serving food. So let’s say I have 8 people (including me) for dinner ( from 20H to 23H) than I would ve: 4 bottles of champagne, 6 bottles of white wine, 6 bottles or red wine. Making 16 bottles total as it is 3 hours of food serving meaning 2 bottles per person. I always have white and red wine as some of my guests prefer to drink either or. I also make sure that both wines fit with all courses ( which is sometimes a challenge for the wine merchant). I keep an extra couple of bubbly on the side for after dinner as well as a fabulous single malt and an exquisite port. You do not need a FULL bar for after dinner, just 2 spectacular choices…. and champagne!
STEP 6: Schedule as much as possible to be DELIVERED and ORDER item to be picked up a day or 2 before the party, minimizing what you need to still get on the day off. Bread would be an item i order, pre-pay and pick up morning of the party. All the rest I pretty much get in advance. And as I don’t ve a car I get most of the bulky stuff delivered.
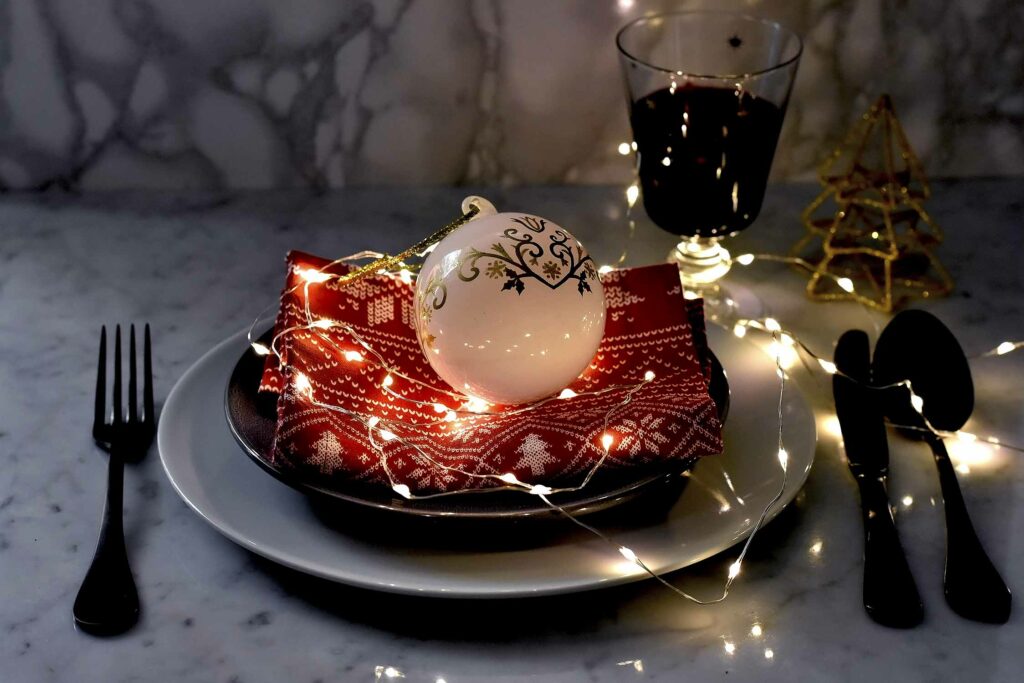
STEP 7: Usually I SET MY TABLE the weekend before the party. Is it overkill? Totally NOT, trust me! You need to be in a serene , zen place to create a beautiful table setting or buffet. I take my time to carefully select my table essentials and accessories and add layer upon layer until I am pleased with the result. For tips on how to set a stunning table on a budget, check out my tips HERE. I also prepare what plates or bowls I will use to serve each dish in and how I will style the plate. A little drawing comes in handy next to the list of ingredients for that dish. I move, remove and decorate the space throughout the week after work, so that gradually my place is getting dressed up to receive my guests.


STEP 8: PRE PARTY PREP, okay so here you got to listen to me and just do it, this is an amazing trick to NEVER EVER be rushing and late when your guests are at the door! ready… you ready for it …. Set 2 alarms on your phone: one 45 minutes before your guests are due to arrive and one 15 minutes before. I still do this with every major or minor event I plan, and it is crucial. When the alarm goes off 45 minutes before, you drop everything you are doing, and get ready. It does not matter that you are not finished with food prep you GO GET READY NOW! When the 15 minutes alarm goes off, you should be about finished dolling up. So now light the candles, dim the lights, get the pre-dinner drinks and snacks out and put on the your music playlist. I also tend to open the wines and taste them all ( let’s get the party started) This will ensure you are ready and relaxed to welcome your guests. Once they and you got drinks you can return to your food prepping.
STEP 9: Write down a PARTY TIME LINE, when you want to serve what course and calculate how much last minute cooking is required. You could set alarms on your phone but that tends to be either disruptive or inaudible. Just enjoy your guests company, know when you need to excuse yourself to prep the next course. I call it “PLANNED ORGANIC FLOW” or POF : you ensure everybody enjoys the courses but you have a timeline to stick too. This avoids toooo long of pre-dinner drinks time where hungry guests hoover the snacks or tooo long waiting in between courses where they eat all the bread. Generally it is acceptable to have 20 minutes between each course. Again I remain flexible as sometimes before dessert you my wish to leave a bit more time for digestion especially if you served 6 courses before.
STEP 10: Plan your CLEAN UP! Usually an afterthought, but it should really be part of your plan. Will you need to wash dishes or cutlery during the dinner? Can everything go into the dishwasher? Do you ve containers on hand for leftovers to send home wit your friends or to store for tomorrows hangover breakfast? Are any pots or pans in need of a good soak before cleaning? If you serve fish or crustaceans, do you need to make sure to remove the trash before going to bed?

Don’t forget a little party-favour, everyone loves a little gift to take home. In my hangover kit I put: green detox tea, headache meds and a mint sweetie.
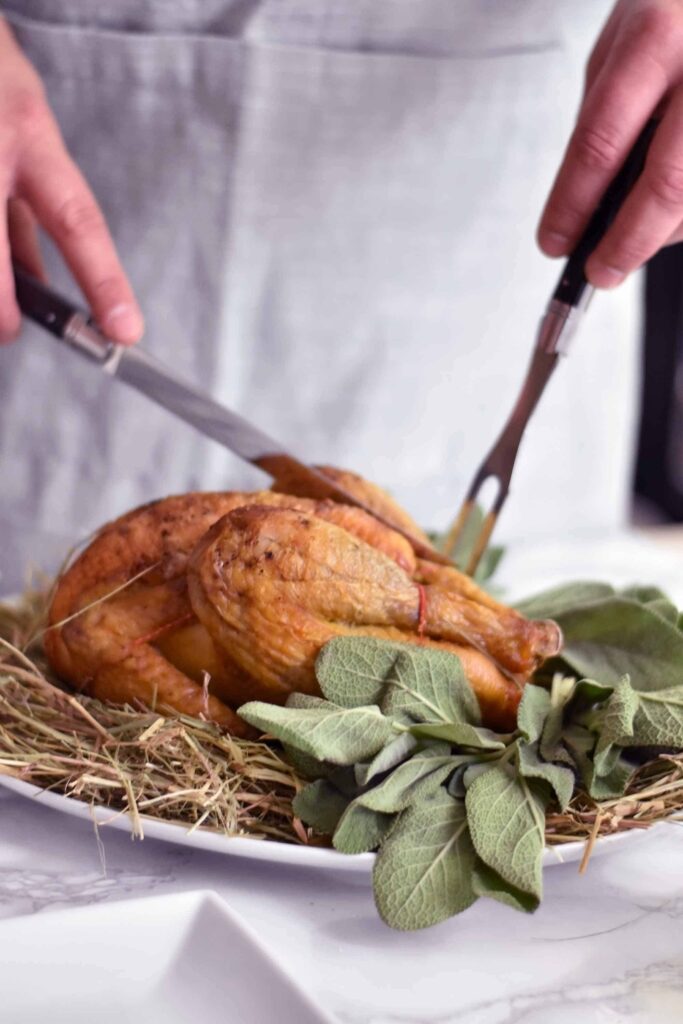
Written and photographed by Sandra Slawinski without commercial deals. Iin my photos you see my lovely friends ( well their hands) who I bribe with food and wine to pose for me. THANK YOU!